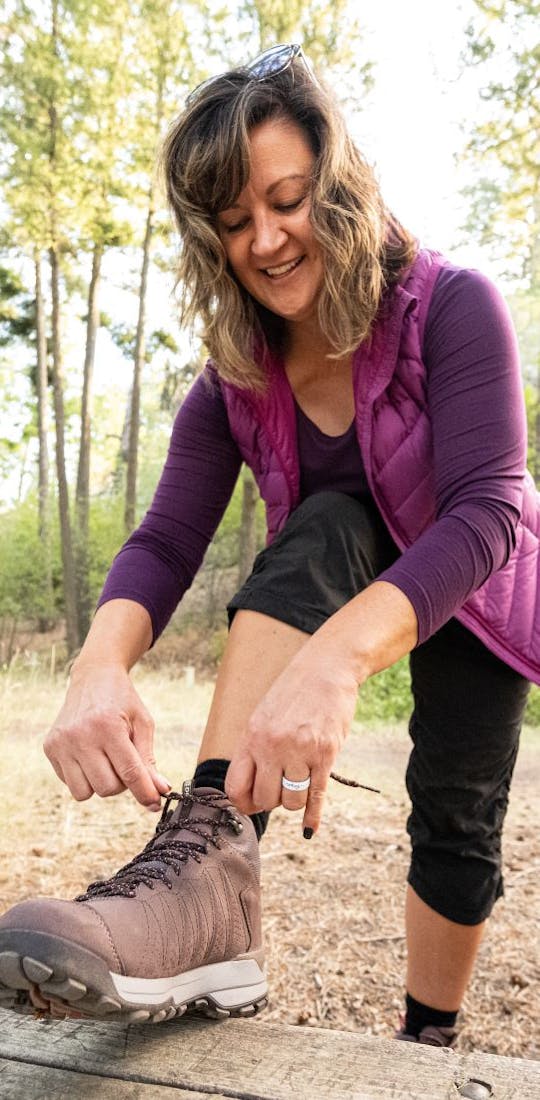
Well-fit hiking shoes are something many hikers go years looking for.
Here at Oboz, we’re doing our best to make shoe fitting as easy as possible. Lacing techniques are an easily overlooked trick to fix small fit issues in an otherwise well-sized hiking shoe. We're here to share several techniques that can be used to improve fit and keep your foot in the proper position for all your biggest treks.
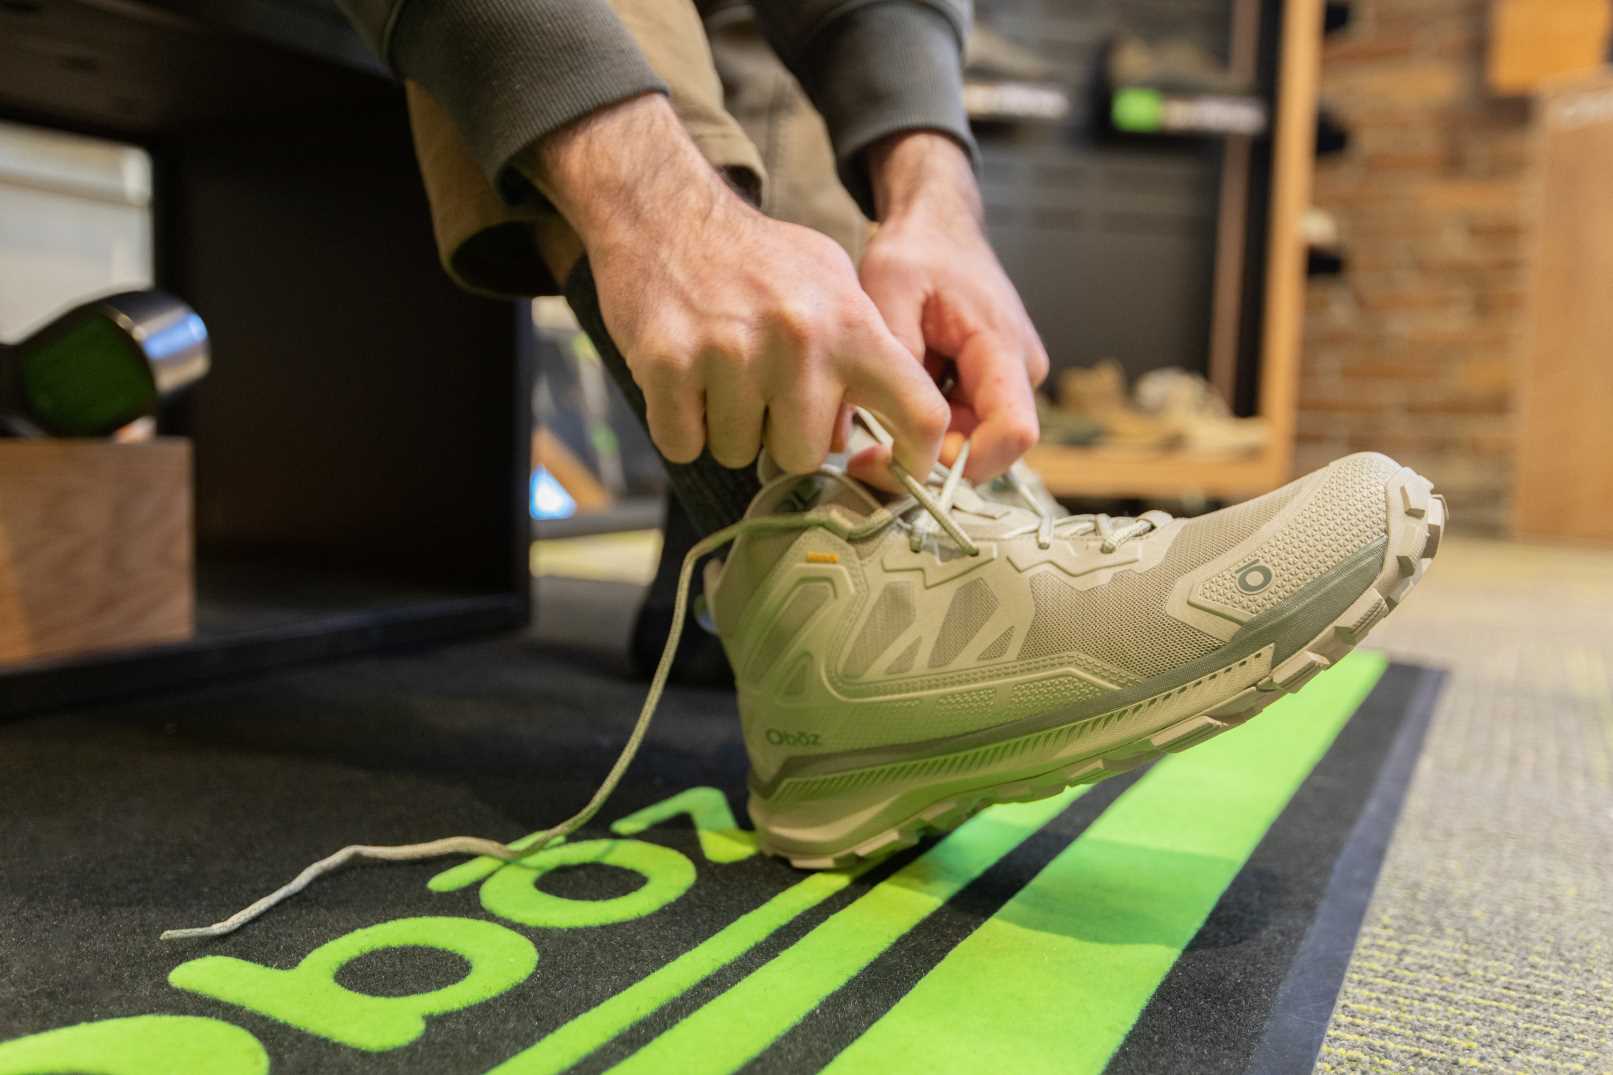
It’s important to keep in mind that all feet have different sizes and volumes. We always recommend beginning your fit with proper sizing from an Oboz retailer. Once you’ve found the right size, there are a few techniques we can use in lacing to fine-tune the fit of your hiking shoe. If you have low arches or low volume we can use lacing to provide supportive pressure across the top of the foot. For high arches and/or high volume feet we can lace the shoe to alleviate pressure on the top of the foot and secure the ankle. It’s important to learn about your needs, as these methods can cause discomfort if they aren’t the proper lacing technique for your foot type. These tips come from a few Oboz experts and lucky for us, they made video tutorials for each tip in this article! We'll include video links in each section and for a general lacing technique video, head to this link.
The Double Overhand Knot
Most of our tips begin with a double overhand or surgeon's knot. Here’s how you’ll do it:
- Begin by lacing your hiking shoe as you normally would.
- When you reach the point at which you’d position a regular overhand knot, cross the laces bringing one underneath, and then underneath again. For a surgeon's knot you’ll pull the lace under for a third time.
- Pull outwards to tighten.
This knot creates a lock lace that allows you to separate the tension in your lacing into two sections. This technique is especially useful for those who have pressure points on the top of their feet. You can position your double overhand down by the base of your laces, or lock in the top of your ankle. Play around with the positioning of this knot to find the best tension balance for you. Need a visual? Head to this video to watch the Oboz experts tie a double overhand knot.
Once you’ve gotten the hang of this knot, there are a few techniques to try.
Secure Your Ankle
The double overhand can help you secure your ankle in your hiking shoe. These lacing techniques can prevent blisters and soreness caused by a small amount of space in the fit of your shoe.
- Start by creating your double overhand knot. This knot should be placed below the set-back eye (the one at the top, before the hook).
- Once you’ve made your knot, rather than crisscrossing your laces you’ll feed them through the perimeter of the shoe until you reach the highest eyelet.
- Bring your laces across the front of the boot and feed the laces through the other side creating a webbed matrix.
- As you tighten the laces you’ll be securing the cuff and ankle.
This makes it impossible for the foot to slide forward or for the toes to hit the top of the boot. It will also prevent your heel from lifting out of the boot. This technique can be viewed at timestamp 2:14 of this Oboz YouTube tutorial.
Another method of securing your heel is to create more security around the ankle and mid foot.
- You’ll begin to lace your shoe as normal (crisscross) until you reach the set-back eye. From here you’ll run the lace straight up to the set back eye. Once your laces are straight up, give them a regular crisscross.
- Next, run the lace underneath the line you’ve created coming out under the line on the bottom side of the cross.
- Take the laces and pull them out towards your toes rather than up towards your face.
- Once you pull straight out, crisscross the laces and hook the boot.
- Tie your shoe as you normally do.
This will help to prevent heel lift and create a bit more security around the ankle and mid-foot. To watch this method, head to this Oboz tutorial video.
Alleviate Pressure Points
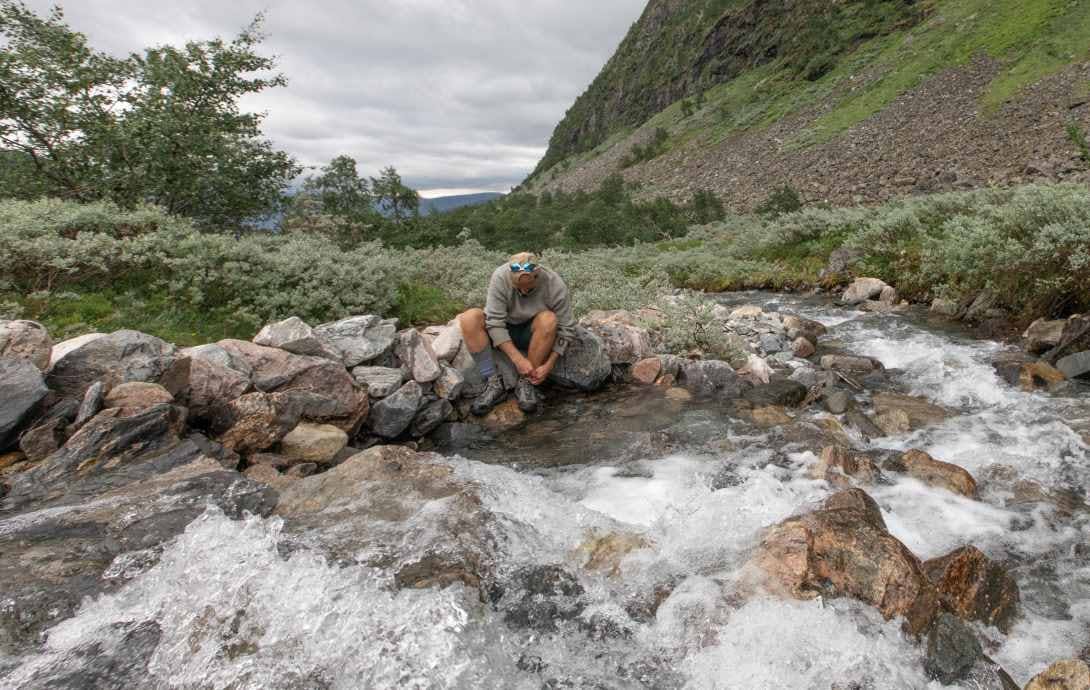
As you hike, or even go about your day, your feet swell. For this reason, we recommend trying on hiking shoes later in the day after your feet have swollen to the size they’ll be while hiking. That being said, swelling can cause pain to the top of your foot, especially during longer treks. To alleviate this pressure we can use a lacing technique called window lacing.
- Untie your shoe to where you need to relieve pressure.
- You’ll start by running the lacing up the perimeter of your boot vertically, rather than a regular crisscross.
- Once you’ve brought that lacing beyond the uncomfortable point of pressure you’ll apply the double overhand knot to secure the area.
- Lace your boot with a traditional crisscrossing method across the boot.
In doing this you’ve created space in part of the shoe that your foot swells to, alleviating pressure on this pain point. This technique is especially helpful for those with high arches or volume feet. Experiment on the best placement for this lacing to find the perfect spot for your foot. This lacing is particularly useful for those looking for more room in the forefoot or to alleviate pressure on bunions. To watch this technique, head to this Oboz tutorial video.
Keep Your Round Laces Tied
Tying your shoe with round laces can prove frustrating. They’re difficult to secure and often won’t stay tied on the trail. Needless to say, stopping every few miles to tie your shoe is less than ideal.
One thing we suggest to help keep these laces secure is to do a regular overhand knot with two loops:
- Make your loop for your bow, then go around your thumb twice (rather than once as normal).
- Take the rest of the lace, feeding it through where your thumb is.
- Pull the lace down and now you have two loops rather than one around your bow, helping to keep the knot in place.
Another simple solution to this problem is to create one loop around your knot and then feed the lace back through. Be sure to keep the lace off to the outside of the boot so you don't kick it while walking. To watch this method, check out this Oboz tutorial.
Now that we've showed you the basics of lacing you'll be able to fine tune your hiking shoes for the perfect fit. Still on the hunt for the perfect shoe? We've got a blog post for that. Be sure to check out your local retailer or head to the shoe finder to help you select the best Oboz shoe for your journey.
To stay up to date on Oboz happenings and new blog posts, be sure to subscribe to our newsletter and follow us on Instagram.