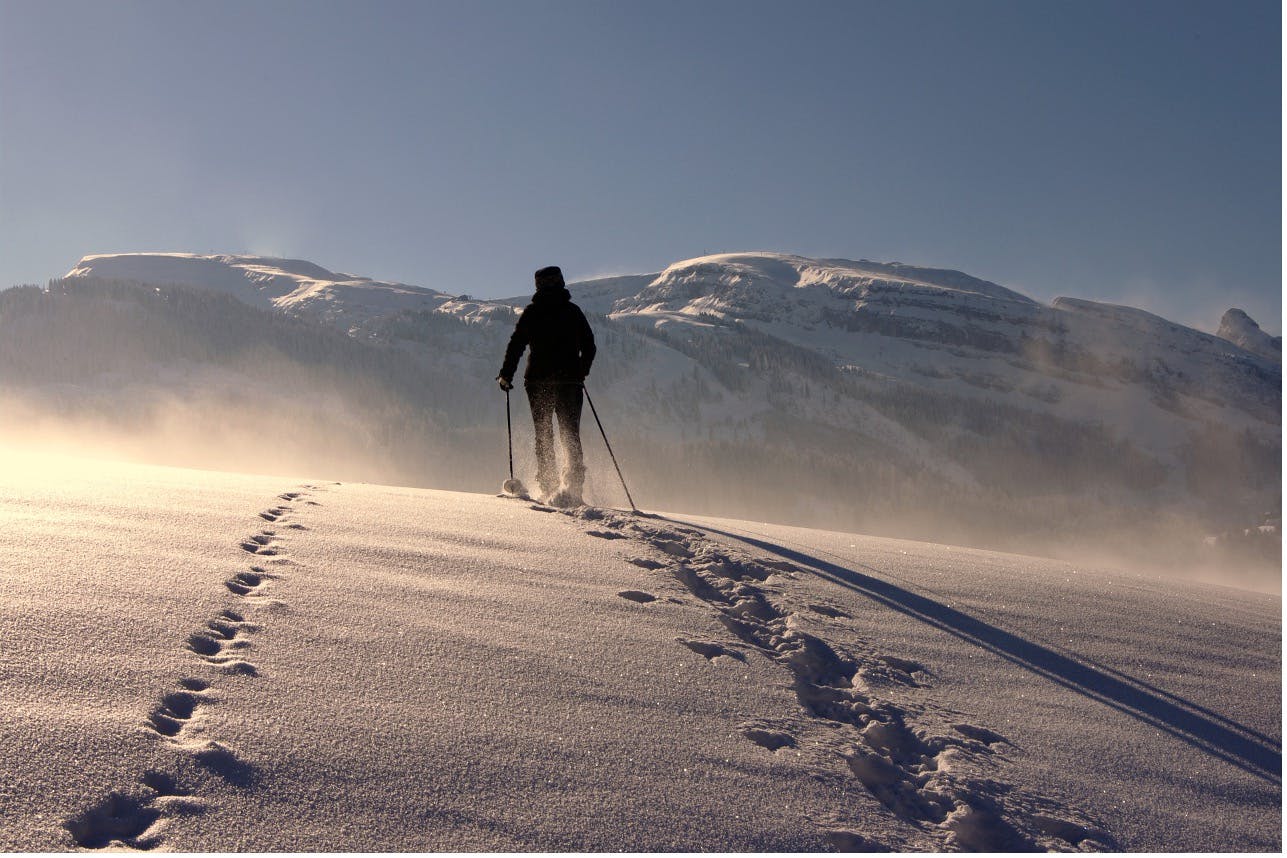
‘Tis the season to get your layers on and embrace winter hiking!
Here’s how to get prepared and enjoy winter hiking at its finest.
Benefits of hiking in the winter:
Solitude on the trail...
Available parking spots at trailheads...
- It’s easier to obtain trail and backcountry permits for permitted areas.
- You don’t have to worry as much about sunburns.
- There won’t be an abundance of mosquitoes or other pesky insects.
- It is incredibly beautiful walking in a winter wonderland.
- Shorter days, so a lot of opportunities for stargazing and night photography...
- Campfires (when feasible and legal)...
- Warm lunches and hot beverages!
- There is generally more time spent sleeping, reading, or staying cozy in a sleeping bag.
- Down everything: hats, booties, jackets, pants, sleeping bags, even down skirts–yes,
- please!
- You can remain active year-round!
Before you go into a blizzard:
- Always check the extended weather forecast. Investigate conditions of avalanches and potential avalanche terrain, wind, and weather in surrounding areas.
- Ensure your vehicle is equipped to make it to the trail. Depending on conditions, consider chains, a jump start kit, a 4x4 or AWD vehicle, extra food and water, extra fuel, blankets, and an emergency kit.
- Create contingency plans.
- Let someone know where you intend to hike.
- Familiarize yourself with the region where you’ll be hiking. Study the map and area.
- Trekking in the snow? Make sure you are comfortable with snow navigation and snow travel prior to heading out.
- Create a pack-list for the journey.
- Allow more time for travel. Anticipate slower mileage times in the winter.
- It is okay to turn around if conditions are too gnarly. Safety first always.
- Familiarize yourself with hypothermia, altitude symptoms, and other ailments.
- Double-check all of your gear. Make sure the crucial survival items will be kept dry.
- Eat well, hydrate well, and be well prior to the trip!
- Remember that winter has fewer hours of daylight, so it’s important to start endeavors early to avoid hiking in the dark.
- Know how to use technical winter gear before you go (e.g. crampons, ice-axes, etc.).
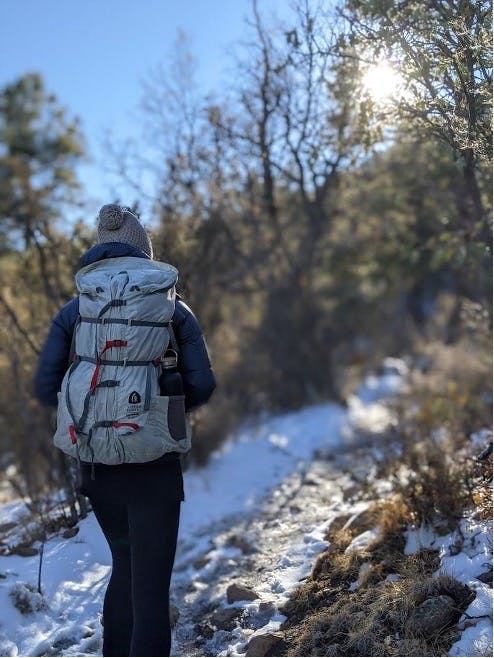
THE KIT
Your winter kit will undoubtedly be heavier than your summer gear. Make sure your pack can carry and support that extra weight and still be comfortable.
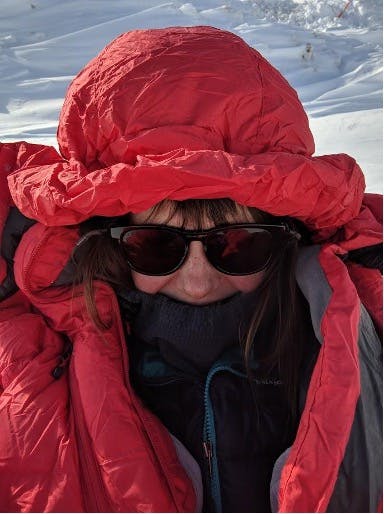
Clothing:
Layers are key, along with proper thermoregulation. Before getting sweaty, de-layer. One motto heard around the mountains is, “ Be bold, start out cold!” Add on layers before you get cold to the point of no return, so to speak. Various clothing requirements in the wintertime are breathable, waterproof, windproof, insulated, durable, quick-drying, and packable. Consider the “onion” style layering system--layers which you can quickly add or remove. Prepare for the worst weather, while hoping for the best. Bring along gloves, glove liners, a warm hat, base layers, neck gaiter, merino wool socks, mid-layers, an insulated jacket, and a rain jacket/outer layer. Note, It is never ideal to use cotton in cold temperatures. I like to always bring two pairs of gloves (one water and wind resistant, and one insulated), extra socks, and an extra hat just in case. Another tip: change into warm and dry clothing as soon as you get to your destination.
Optional winter add-ons: gaiters, hand warmers, sunglasses (consider snow goggles or glacier glasses), down booties, down pants, and down hat).
Footwear:
Keeping the digits comfortable and warm is extremely important. Depending on terrain, location, and conditions, a waterproof and insulated boot might be the way to go. Check out Oboz Bridger Insulated Waterproof Boots! When getting fitted for these at an Oboz dealer, be sure to take the same thickness of sock you plan to hike in. This is to ensure you don't end up with a too-small size which could cramp your toes.
Hydration:
Staying hydrated in the winter can be a difficult task. Naturally, we lean towards not favoring freezing cold drinking water. Try an insulated thermos with hot or warm water, an insulated tube cover for your water bladder, or an insulated sleeve. Bring out the hot cocoas, ciders, teas, and coffees. During overnighters, consider the possibility of needing to melt snow for water and cooking. Bring along extra fuel for this, and for more hot beverages. During the winter, always anticipate longer cooking and boiling times.
Nutrition:
Your body is exerting more energy in cold temperatures while it’s trying to keep warm. Tack on physical activity to this, along with elevation or altitude, and it all combines to become a mega- caloric burner. Replenishing your body with fuel is crucial. Bringing snacks and food you can eat on the go is ideal to avoid getting cold while stopping on the trail. I love to pack some soup in a small thermos! Keep the food items close to your body in your backpack (to keep those items warmer), and avoid foods that might freeze easily. Pack a few extra snacks, meals, and hot beverages.
The Fuel:
Propane canisters can fail in cold temperatures. Keeping these canisters warm is key and be sure to purchase the 4-season kind. A liquid fuel stove will typically work better in cold temperatures. White gas fuel stoves can be serviced in the field, shielded fairly effectively from wind, and they tend to be more stable due to the base being grounded. Bring a lighter and a backup method to light a fire or stove. Always bring extra fuel in the winter.
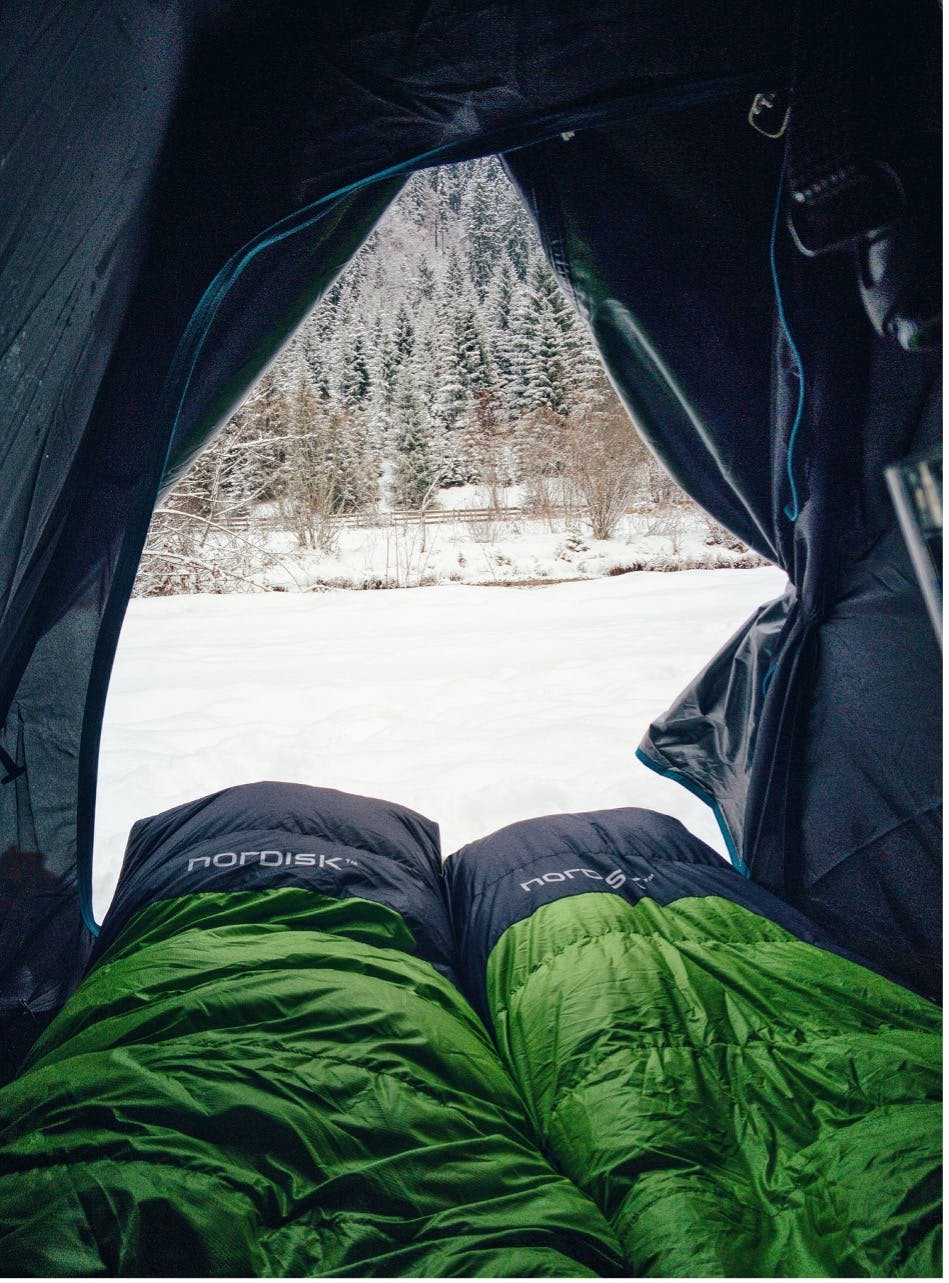
THE SLEEP KIT
Tent:
Depending on what the conditions are and the location, you may need to consider having a 4-season tent. The downside is the weight and bulk of these, but the plus is a dry, warmer, stable, and stormproof shelter. A tarp or a tent floor print is a good idea. Try to avoid getting condensation build-up. Be aware of exposure areas, cold air drainages, widow makers (dead branches above), and nearby water. Consider building a snow wall if the wind is present. Make sure the tent is on level ground. It is helpful to have the tent in a sheltered area protected further from the elements. Gear the tent up with guy lines and snow stakes (if camping in snow).
Sleeping Pad:
Don’t skimp on the sleeping pad. Make sure it is insulated and higher than a 4 value temperature rating. Some folks enjoy adding a closed-cell mattress with an inflatable mattress pad on top.
Sleeping bag and waterproof stuff sack:
Fluff up your sleeping bag to obtain more loft right when getting to camp. The temperature rating on sleeping bags is the survival rating, not a comfort rating. A down mummy bag has the best warmth to weight ratio. Remember that sleeping bags loose loft as they get older. Your 20-year-old bag may not keep you as warm as it once did. Sleeping bag liners are a great add-on for extra warmth and keeping your sleeping bag cleaner.
Sleeping tips:
A sleeping bag acts like a thermos–if you are warm, the sleeping bag will stay warm. If you are cold, the bag will remain fairly cold. Do a few jumping jacks before turning in, if necessary. Add a tightly sealed Nalgene bottle of hot water to your bag, or even a hand warmer. Add extra clothing and layers to the base of the bag to create more loft at night. It will also be great to have warm clothing to put on in the morning! Avoid sleeping in tight clothing. If you have a large insulated jacket, do not sleep in it. Instead, drape it over your core for extra warmth. Use the hood on the sleeping bag. Sleep in a warm hat. If possible, keep your batteries, electronics, and fuel canisters warm.
THE PACK LIST
- Clothing (listed above)
- Sleeping gear (as listed above)
- Meals and snacks
- Fuel and Stove
- Lighters and or fire starters
- Pot set/Mess kit
- Eating utensils
- Garbage and recycling bags
- Extra zip locks
- Sponge, biodegradable soap, and a small pack towel
- Map & compass
- Route description or guidebook
- Hand sanitizer
- First Aid Kit
- Pertinent medications
- Knife or multi-tool
- Tool and repair kit with extra cord/webbing ( I always like to bring duct tape and zip ties)
- Water treatment and bottles, thermoses, or a bladder
- Animal resistant food storage
- Extra batteries
- Headlamp
- A temperature gauge
- Notepad and writing utensil
- Toilet kit
- An emergency blanket
- Sun protection
- Toiletries
- Permit or Trail Pass (if a requirement)
OPTIONAL ITEMS
- Trekking poles–If using trekking poles in snow, attach snow baskets to the bases.
- Crampons, micro-spikes, or snowshoes
- Locator Avalanche Beacon
- GPS/ SOS Device
- A watch with an altimeter and barometer
- A camp pillow
- A sit pad
- Oversized zipper pulls (for making opening pockets an easier task with gloves or cold hands!)
- Battery charging bank and charging cables
- A book or playing cards
Stay warm and have fun out there, friends!